So, you’ve got an Aeropress? Awesome! This little coffee maker is a game-changer. It’s all about quick, tasty, espresso-style coffee right from your kitchen. But, like any great coffee, the secret is in how you make it.
Key Takeaways
- Essential Aeropress equipment includes the right coffee beans, grinder, and water quality.
- Brewing involves a specific process of adding coffee, water, and the right steeping time.
- Advanced techniques include inverted brewing and experimenting with grind size, water temperature, and brew ratios.
- Aeropress is versatile, allowing for various coffee recipes and variations like iced coffee or lattes.
Essential Aeropress Equipment
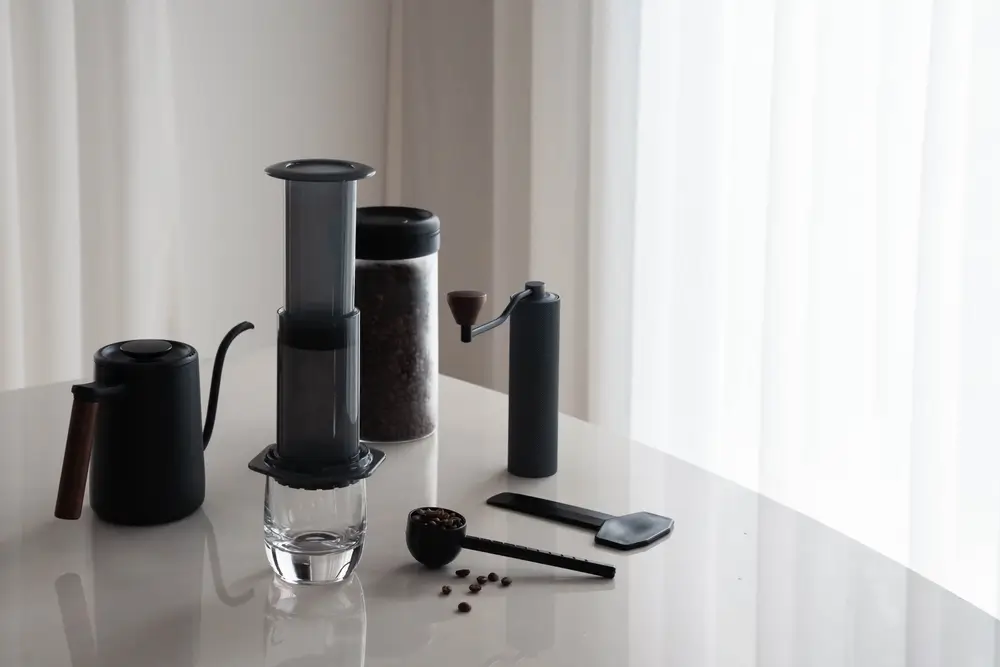
Embarking on your Aeropress journey requires more than just the brewer itself; it’s about understanding and selecting the right equipment and coffee beans to enhance your brewing experience. Here’s what you need to know to get started:

1. Selecting the Perfect Coffee Beans
For Aeropress, medium to fine-ground beans often yield the best results. Consider exploring single-origin beans for their unique flavors or blends for a balanced profile. Look for beans that have been roasted within the last two weeks. The choice of roast – light, medium, or dark – depends on your taste preferences. Light roasts offer more acidity and brighter flavors, while dark roasts are fuller-bodied with richer notes.
2. The Aeropress Kit
The Aeropress kit itself is elegantly simple, consisting of the brewing chamber, plunger, filter cap, and paper filters. Its durable, lightweight design makes it ideal not just for home use, but also for travel. Ensure all parts are clean and free from old coffee grounds and oils for the best taste.
3. Grinders
Grinding your beans just before brewing can significantly enhance your coffee’s flavor. A burr grinder is preferred over a blade grinder for its consistency and control over the grind size. For Aeropress, a medium to fine grind works best, resembling table salt in texture.
4. Water Quality
Water quality can make or break your coffee. Use filtered or bottled water if your tap water is hard or has a strong taste. The ideal brewing temperature for Aeropress is around 175°F to 185°F, slightly cooler than boiling, to extract the best flavors without bitterness.
How to brew Aeropress Coffee
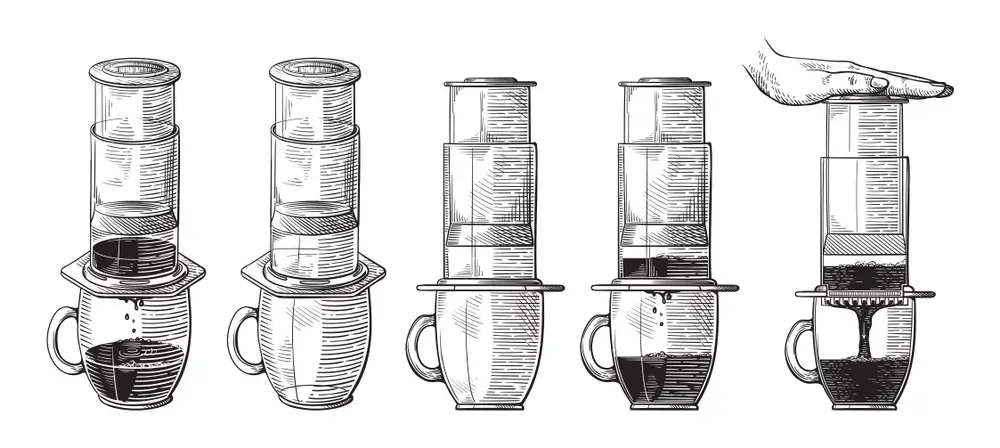
To make perfect Aeropressed coffee, start with medium to fine-ground beans and preheat your Aeropress. Add coffee to the chamber, pour water at 175°F to 185°F, let it steep for 1 to 1.5 minutes, and then press slowly. Enjoy as is or customize with water, milk, or other ingredients for different variations.
Here’s a step-by-step guide to help you craft your perfect cup of Aeropress coffee:

1. Prepare your coffee and filter
Begin by assembling your Aeropress. Insert a paper filter into the filter cap and rinse it with hot water. This removes the paper taste and warms up the brewer. Grind about 17 to 20 grams of coffee beans to a texture similar to table salt.
2. Add coffee in the brewing chamber
Place the Aeropress in its stand position (with the filter at the bottom) over your mug or cup. Add the ground coffee into the Aeropress chamber. Give a gentle shake to level the coffee bed.
3. Pour the water over the coffee grounds
Slowly pour water heated to around 175°F to 185°F over the coffee grounds. The ideal ratio is about 1:15 coffee to water, but feel free to adjust according to taste. For the first pour, add enough water to saturate the grounds (about twice the weight of the coffee).
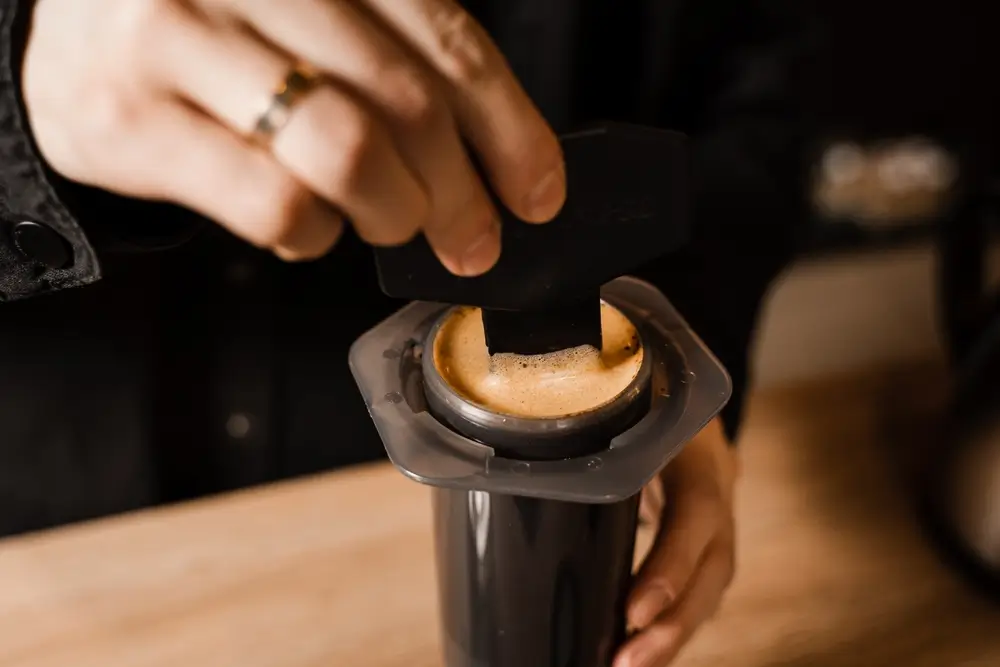
4. Gently stir the coffee with a stirrer
After the initial pour, give the coffee a gentle stir with a stirrer or spoon. This ensures even extraction. Allow the coffee to steep for about 30 seconds.
5. Add the remaining water and start the timer
Add the remaining water to fill the chamber. Place the plunger on top to create a seal, which prevents heat loss and dripping. Let the coffee brew for about 1 to 1.5 minutes.
6. Attach the plunger and carefully push it down
After the brewing time, slowly and steadily press the plunger down. This should take about 20 to 30 seconds. A slower press results in a richer flavor.
7. Enjoy your Aeropresed Coffee!
Once you’ve fully depressed the plunger, your Aeropress coffee is ready. Enjoy it as is, or add water or milk to suit your taste.
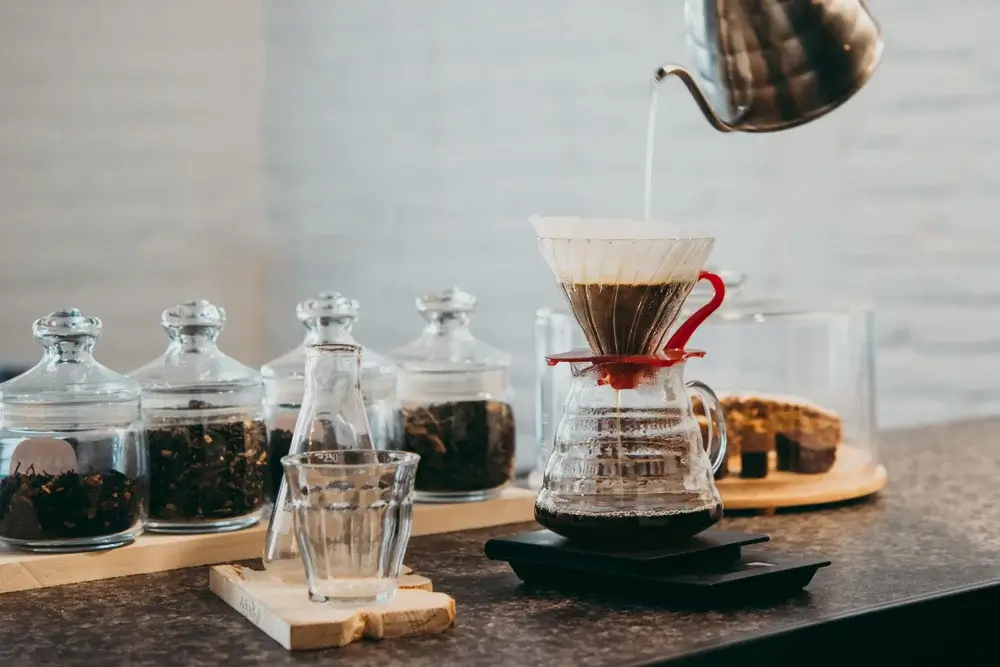
SEE ALSO: How to make Pour-Over Coffee
How to Clean Aeropress Coffee Maker
Cleaning the Aeropress is simple. Eject the coffee puck and rinse the parts. Its easy maintenance is part of its appeal.
Advanced Techniques for Aeropress Coffee
While the basic Aeropress method is straightforward, exploring advanced techniques can elevate your coffee brewing to new heights. Here are some tips and tricks for getting the most out of your Aeropress:

1. Inverted Brewing Method
One popular variation is the inverted (upside-down) Aeropress method. This involves assembling the Aeropress with the plunger at the bottom and the chamber on top, allowing the coffee to steep without dripping through the filter. This method gives you more control over the steeping time and can result in a fuller extraction.
2. Experimenting with Grind Size
Changing the grind size can dramatically alter the taste of your coffee. A finer grind results in a more robust and full-bodied flavor, while a coarser grind produces a lighter, smoother cup. Experiment to find the grind that best suits your palate.
3. Water Temperature Variations
While the recommended brewing temperature is between 175°F and 185°F, experimenting with slightly higher or lower temperatures can unlock different flavor profiles. Cooler water tends to highlight brighter, acidic notes, whereas hotter water can extract deeper, richer flavors.
4. Using Different Filters
Beyond the standard paper filters, metal filters are also available for the Aeropress. Metal filters allow more oils and fine coffee particles to pass through, resulting in a fuller-bodied coffee with more texture.
5. Tweaking Brew Ratios
The standard coffee-to-water ratio for Aeropress is 1:15, but adjusting this ratio can cater to your strength preference. For a stronger cup, increase the coffee ratio, and for a lighter cup, do the opposite. Remember, consistency in measurement is key, so use a scale for accuracy.
SEE ALSO: How to make French Press Coffee at Home
Aeropress Coffee Recipes and Variations
1. The Classic Aeropress Brew
- Grind 17 grams of coffee to medium-fine consistency.
- Heat water to 175°F.
- Use the standard brewing method with a 1:15 coffee-to-water ratio.
- Steep for 1 minute, then press and enjoy a balanced and smooth cup.
2. The Strong and Bold Espresso-Style Concentrate
- Use 20 grams of finely ground coffee.
- Add enough hot water just to cover the grounds and stir.
- Steep for 30 seconds and press into a concentrated shot.
- Enjoy as is for a strong espresso-like experience or add hot water for an Americano.
3. Iced Aeropress Coffee
- Brew a stronger concentrate with less water and more coffee.
- Press directly over a cup filled with ice.
- The ice melts, balancing the strength, leaving you with a refreshing iced coffee.
4. The Aeropress Latte
- Prepare an espresso-style concentrate.
- Heat and froth milk separately, then pour over your coffee concentrate.
- Sweeten to taste for a homemade Aeropress latte.
5. Cold Brew in the Aeropress
- Use cold water and coarse-ground coffee.
- Let it steep in the fridge for 12-24 hours.
- Press and enjoy a smooth, low-acidity cold brew.
Closing Thoughts
Now’s the chance to have some fun with your Aeropress. What’s really cool about it? Well, it’s known for whipping up seriously good coffee, and it’s super versatile. Time to let your imagination run wild! Experiment with different brews and techniques – who knows, you might just stumble upon your new favorite way to enjoy coffee with your Aeropress.
Stay tuned for more coffee brewing guides, recipes, and bean roasts.


